Details
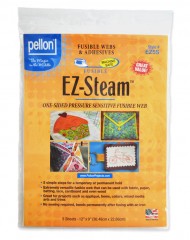
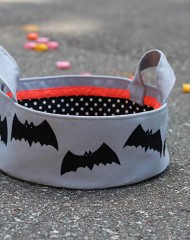
Follow along with Vanessa Vargas Wilson of Crafty Gemini as she demonstrates how to use EZ-Steam® II and shares some great projects ideas. Love Vanessa’s style? Check out her blog and her YouTube channel.
Description
GENERAL DIRECTIONS
1. With backing still attached, cut a piece of EZ-Steam® slightly larger than your appliqué design.
2. Using a pen or water soluble marker, trace or draw your design directly on to the side of the EZ-Steam® without the backing. (If you are using the design in the fabric, you do not need to trace it.)
3. Remove the paper and finger press the sticky side of the EZ-Steam® to the wrong side of your appliqué material.
4. Cut the appliqué material and EZ-Steam® together following your pattern lines.
5. Position the appliqué on the right side of your background fabric. Appliqué can be repositioned at this time. Set your iron to Cotton setting with steam. Cover with a damp press cloth. Press down FIRMLY in place for approximately 10-15 seconds. (When fusing to cardboard or paper, eliminate steam and use dry press cloth. If using a lower heat setting, hold the iron in place longer or repeat process to get a permanent bond.)
6. Repeat fusing process, overlapping slightly, until entire area is fused.
7. Once completely fused, the EZ Steam® will not fray or lift off. However, if you prefer to do a satin stitch or other decorative stitch on your appliqué, EZ-Steam® is completely machine safe and will not gum up your needle.
NOTE:
- We recommend pre-washing all fabrics before fusing. This will help remove any finishes that might prevent the adhesive from penetrating the fabric. Also, this should take out any shrinkage from your fabric. Do not use fabric softeners or dryer sheets.
- Always pre-test any fusibles to insure that your fabric is compatible and to make sure that your iron temperature is compatible with the type of fabric you are using. Adjust if necessary.
- Not recommended for acetates, Mylar® or lace fabrics.


